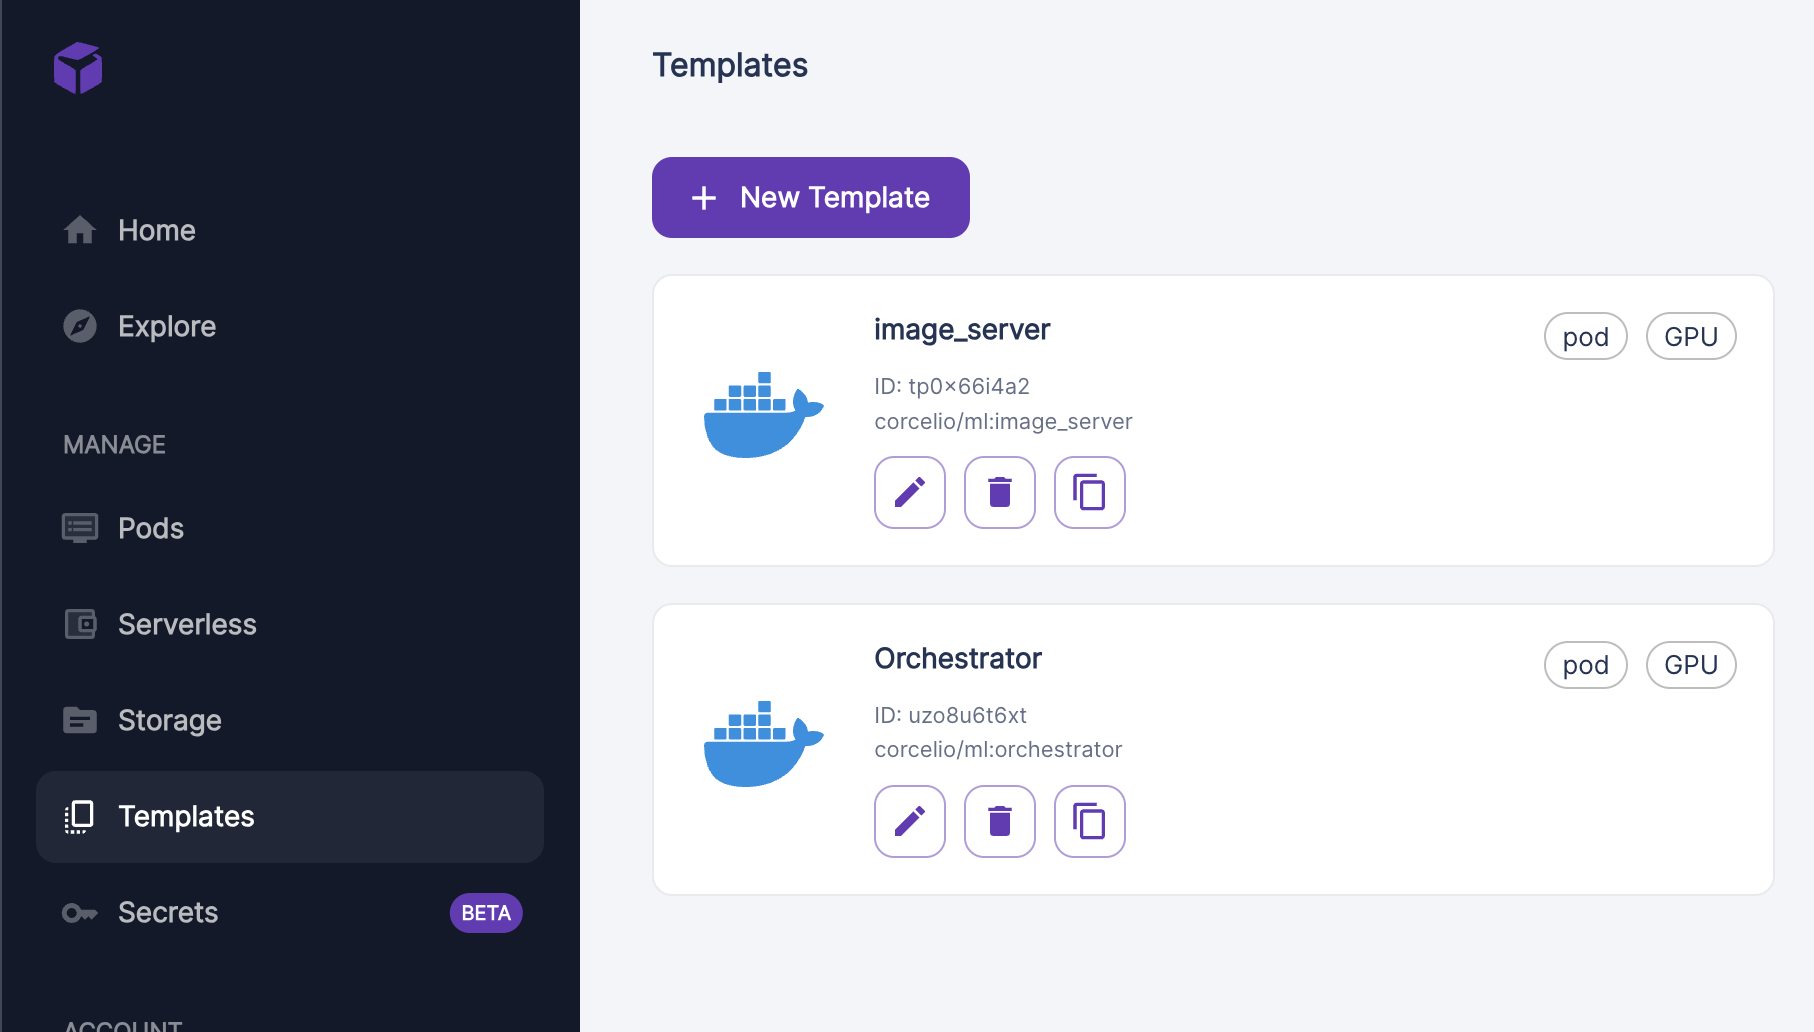
Full instructions for setup
Welcome to S19 Mining 🔥
Contents:
Overview
A miner consists of several parts, fitting into two categories:
- Proxy
- Workers
The proxy server is the server which has your hotkey, and spins up the axon (should probably be on a CPU close to your GPU worker servers). The worker servers are the GPU workers which perform the tasks!
I would advise starting with the worker servers. The simplest way to get started is to spin up four worker servers:
- One for the mixtral chat model
- One for the image generation stuff
- One for the llama3 chat model
Worker server setup
I recommend using bare metal where possible. The documentation for bare metal can be found in here https://github.com/namoray/vision-workers
Below is the documentation for a template provider, such as runpod:
⚠️USE 11.8 <= CUDA <=12.2 For an easier life! ⚠️
Template setup
I'll use runpod as example, as it's easy with them
Chat (LLM) servers
FOR MORE INFO ON BARE METAL SETUP; READ HERE
-
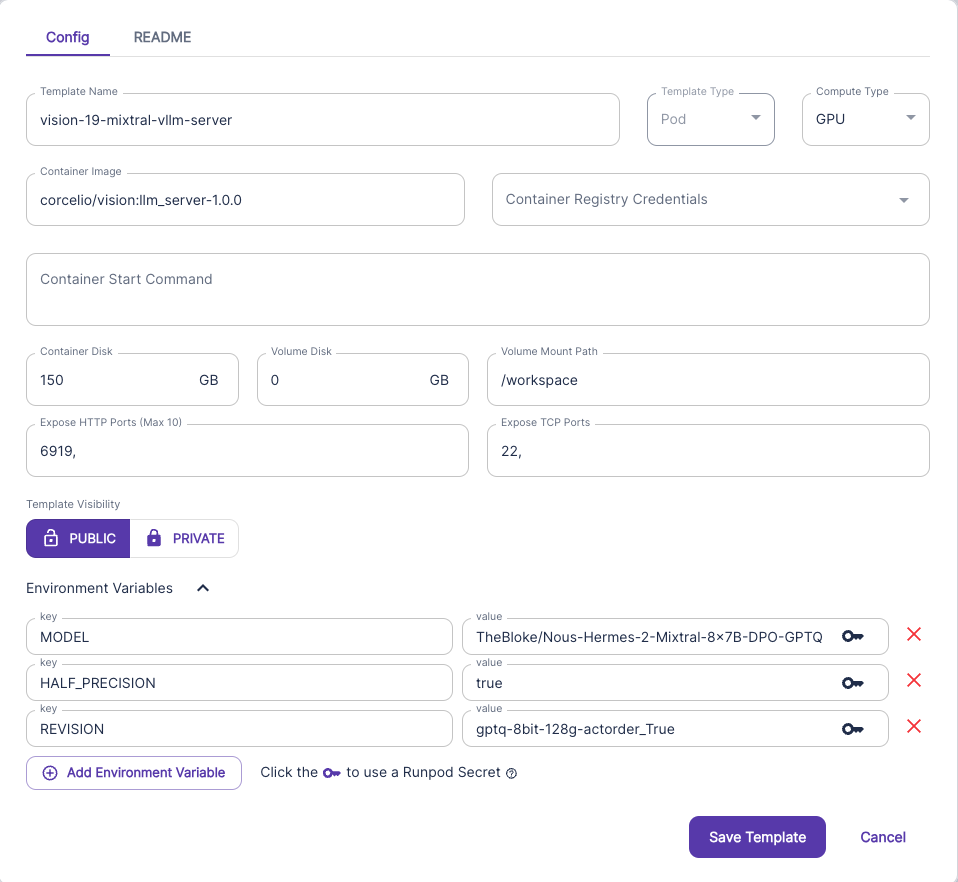
Navigate to https://www.runpod.io/console/user/templates Create a new template
-
Fill out the template like this, but look below for all the different ennvironment variables
Model configs
Mixtral
MODEL TheBloke/Nous-Hermes-2-Mixtral-8x7B-DPO-GPTQ
HALF_PRECISION true
REVISION gptq-8bit-128g-actorder_True
Llama-3
MODEL casperhansen/llama-3-70b-instruct-awq
HALF_PRECISION true
TOKENIZER tau-vision/llama-3-tokenizer-fix
It's very important that port 6919 is exposed here, as well as TCP port 22 ( so you can ssh in if you need to)
- Create a GPU pod with this instance
- Pick a GPU, pick a template, and you're off! and you're off! NOTE: I advise you use a estup with at least 80GB vram (H100 or A100 for example)
NOTE DONT USE THE TEMPLATE BELOW, ITS JUST AN EXAMPLE :D
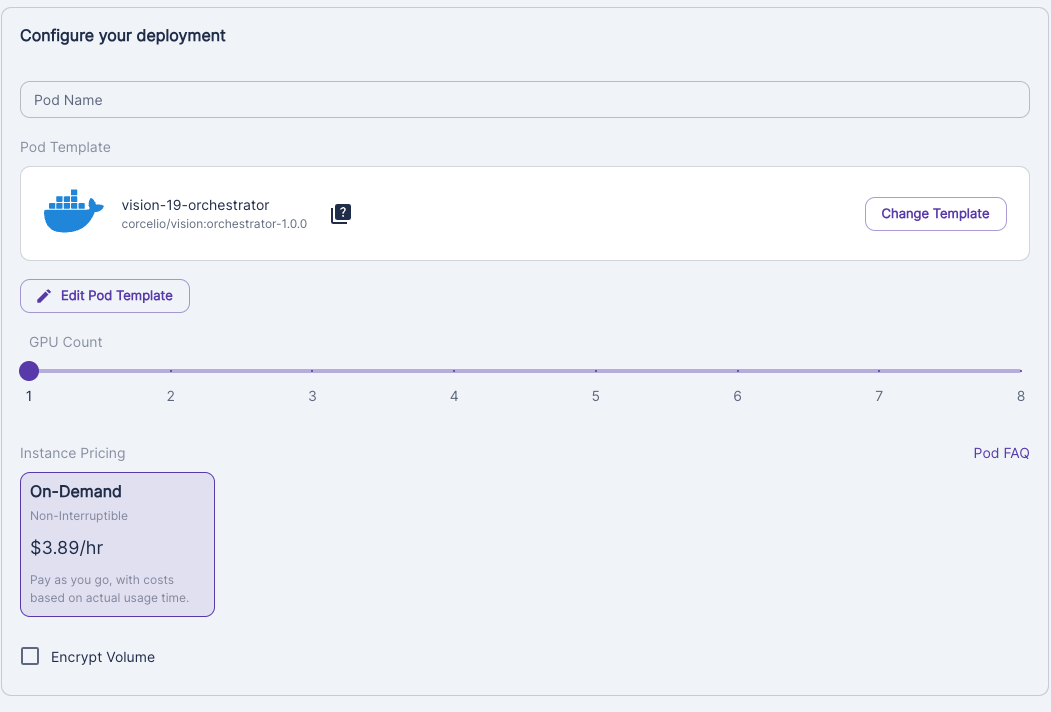
Image worker
Very similar steps, just a slightly different template!
For detailed info on setup; read this image_server_docs
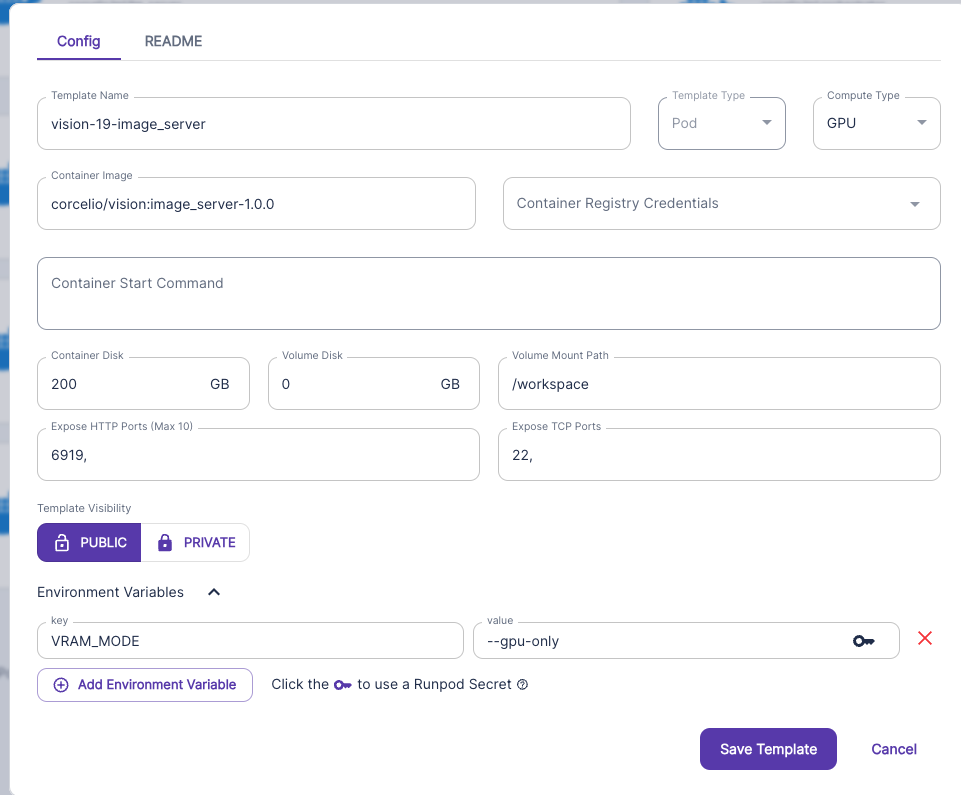
I would recommend either a RTX4090 or H100 or A100
Getting the address of the servers
Navigate to one of the pods, click 'connect', and then click the orange button, and copy the URL in your browser

Proxy server setup
Get a CPU VM (Digital Ocean Droplet, OVH, Vultr, etc) - make sure you have an open port if you want to run a organic API server. Note: Runpod CPU's don't seem to be the best If you pick a runpod cpu, i would advise running this
ulimit -n 4096
Setup environment
Note: if you're using a provider such as runpod or vast, make sure you expose the necessary ports first, e.g.: https://docs.runpod.io/docs/expose-ports#:~:text=If%20your%20pod%20supports%20a,address%20to%20access%20your%20service. Follow the "Symmetrical port mapping" step :)
Clone the repo
git clone https://github.com/namoray/vision.git
cd vision
Install system dependencies
If you are in a container such as runpod, run these:
### Install pm2 & jq
apt update && apt upgrade -y
apt install nodejs npm -y
npm i -g pm2
apt-get install -y jq

### Install nano so you can edit the config easily
apt-get update
apt-get install nano
If you are on a bare metal machine (e.g. Vast) where you require
sudo### Install pm2 & jq sudo apt update && apt upgrade -y sudo apt install nodejs npm -y sudo npm i -g pm2 sudo apt-get install -y jq ### Install nano so you can edit the config easily sudo apt-get update sudo apt-get install nano
Install python dependencies
Make sure you have installed the correct python version (python 3.10). If you don't, try this:
sudo apt update && sudo apt install -y software-properties-common && \
sudo add-apt-repository ppa:deadsnakes/ppa && sudo apt install -y python3.10 \
python3.10-venv && python3.10 -m venv venv && source venv/bin/activate && echo "source venv/bin/activate">>~/.bashrc
### Install the local python environment
pip install --upgrade pip
pip install -e .
If for some reason that doesn't work, you may need to use
pip3### Install the local python environment pip3 install --upgrade pip pip3 install -e .
Get hot and coldkeys onto your machine
I trust we can do this at this point ;D
Creating the database
Used to store concurrency info
sudo curl -fsSL -o /usr/local/bin/dbmate https://github.com/amacneil/dbmate/releases/latest/download/dbmate-linux-amd64
sudo chmod +x /usr/local/bin/dbmate

dbmate --url "sqlite:vision_database.db" up
Create the config
vision create-config
If you get the error message
vision not foundConfigure the task_config & task_concurrency_config json's
For each hotkey, there was default task configuration created in the sqlite db.
View this with
./peer_at_sql_db.sh
For a GUI, or
sudo apt install sqlite3
sqlite3 vision_database.db
For no gui
The default values for volumes are 1/2 of the maximum allowed values. These are filled EITHER:
- When you use vision create-config
- run
python set_miner_defaults.py
Task config
Here we defined the capacitity (or volume) for each task, for that miner. This is the maximum amount of 'work' that a hotkey can do in a 1 hour period. To calculate that work, you can use
calculate_volumes_example.pyConcurrency groups
We also define the
concurrency groupsStart miners
Autoupdates
Announcements will still be made ahead of time. If you choose to run autoupdates as a miner, make sure your ./start_miners.sh script is up to date & working, and I would advise monitoring around update releases regardless.
You're of course free to change or use whatever autoupdater you like!
pm2 start --name run_miner_auto_update "python run_miner_auto_update.py"
IF that doesn't start the Miner pm2 process, try this instead
nohup python run_miner_auto_update.py </dev/null &>miner_autoupdate.log &
No autoupdates
You can either use the command
./start_miners.sh